

This guide covers how to configure member types and their properties for your event in Crew Stack. You'll learn how to define different types of members, set requirements, and customize the information collected from each type. Let's look at the steps:
Step 1: Access Member Types
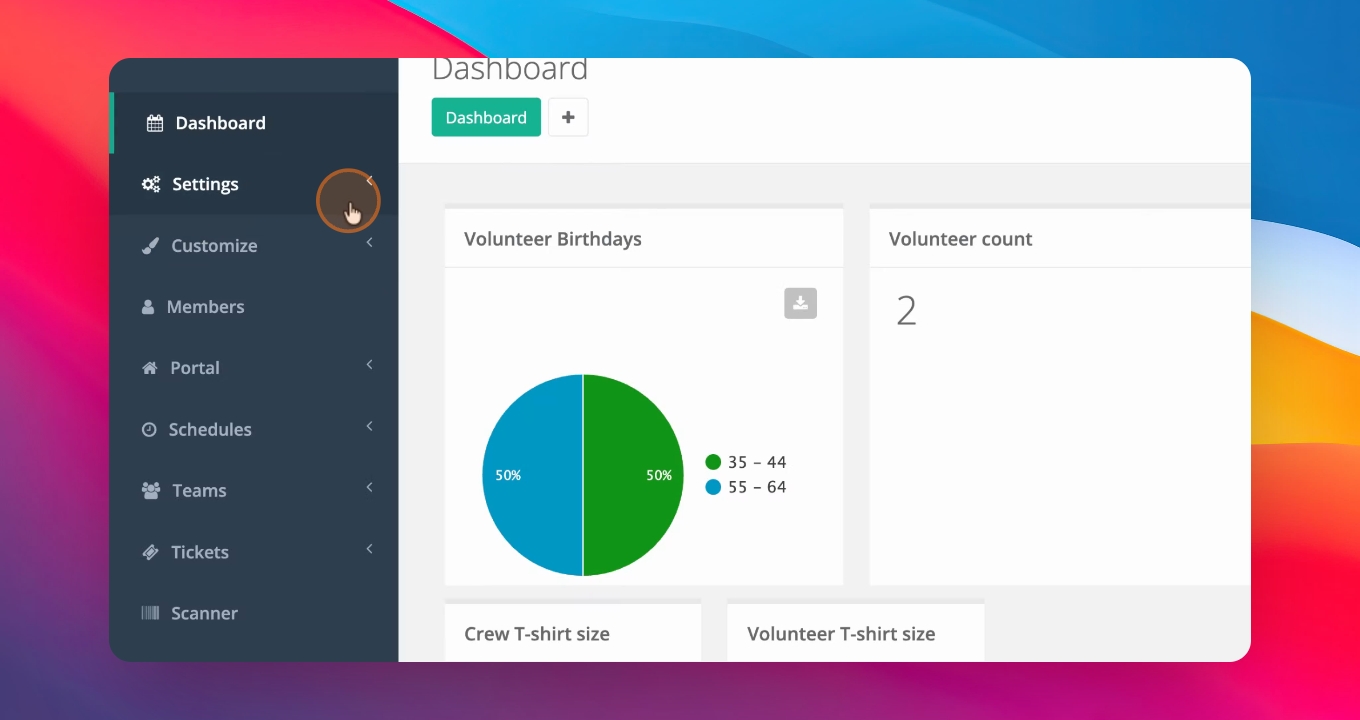
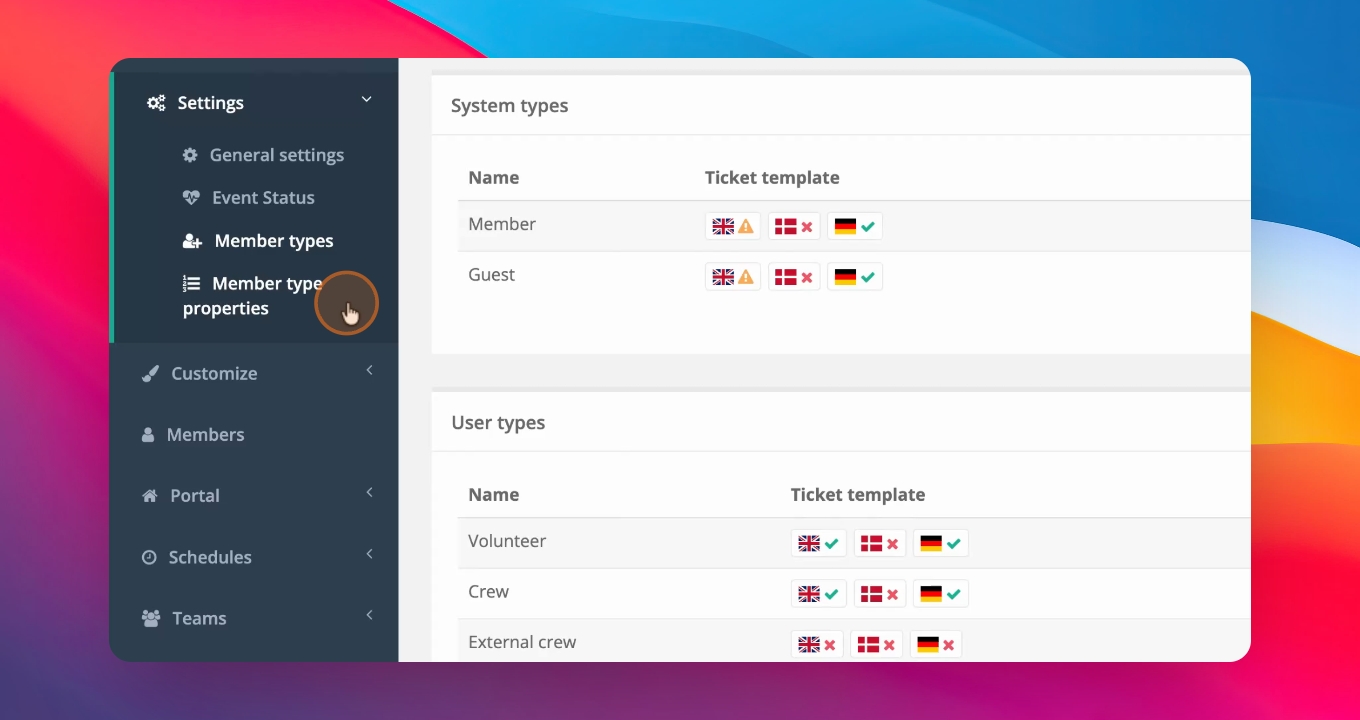
Go to Member Types in Crew Stack. This is where you set up and configure the different member types for your event.
Step 2: Understand Member Types
Member types define the different kinds of people working at your event, such as crew or volunteers. For example, you might have a Volunteer type and a Crew type.
Step 3: Create a New Member Type
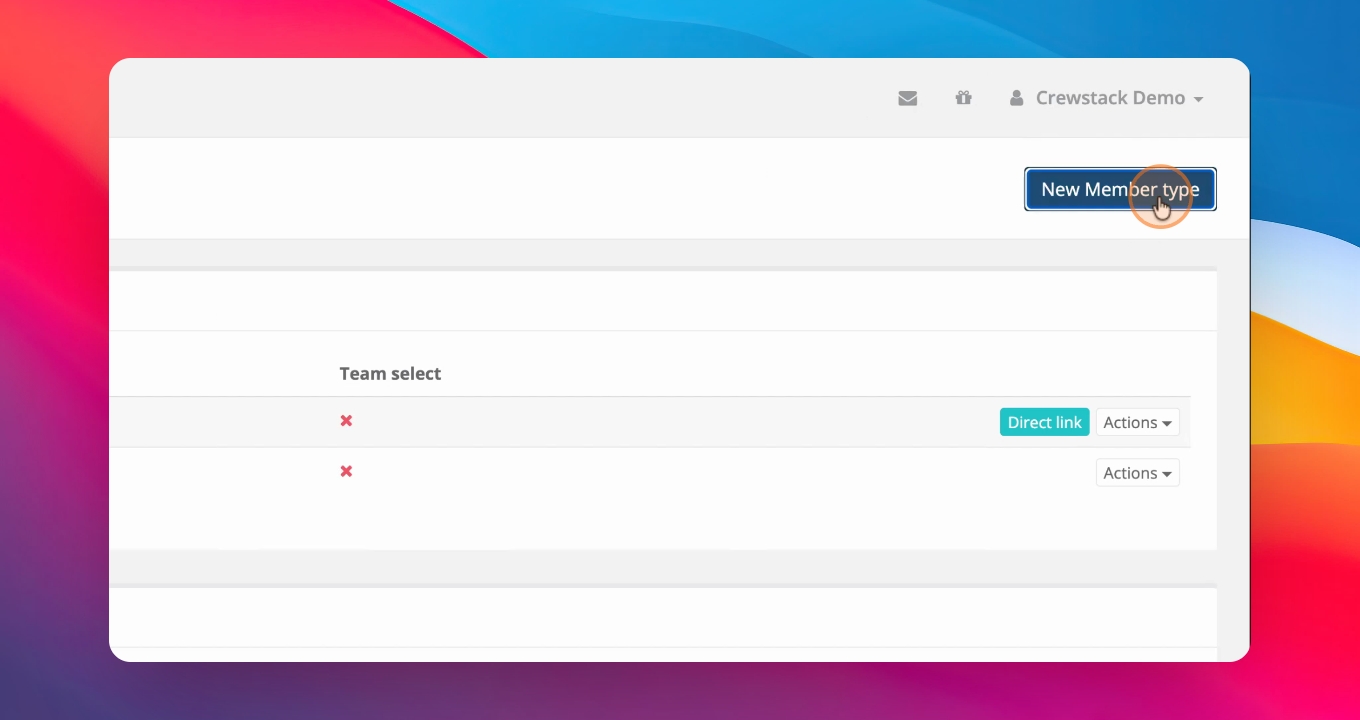
Click New Member Type to define a new type, such as External Crew for crew from an external provider.
Step 4: Configure Member Type Options
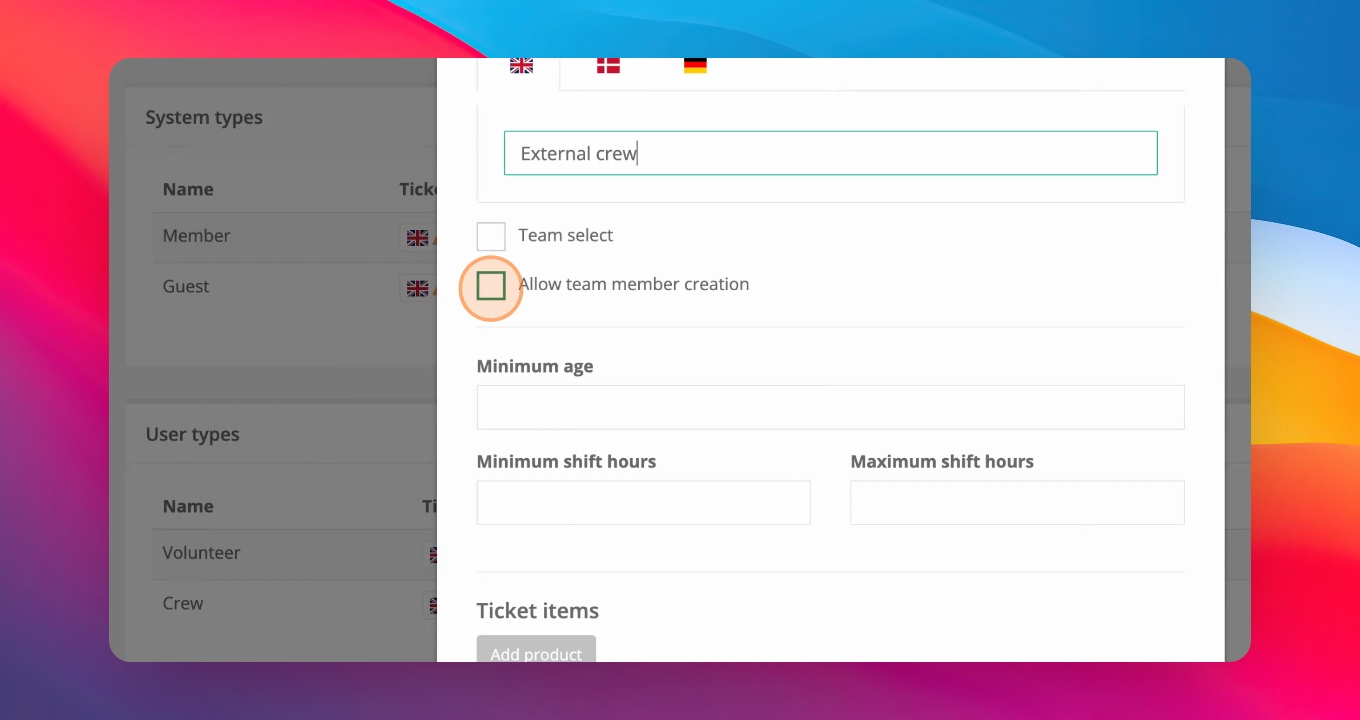
When setting up a member type, choose whether members should select a team during sign up and if you want the option to manually create this member later. You can also set minimum age, minimum and maximum shift hours, and define products that are automatically added to this member type, such as a crew wristband.
Step 5: Share Direct Signup Links
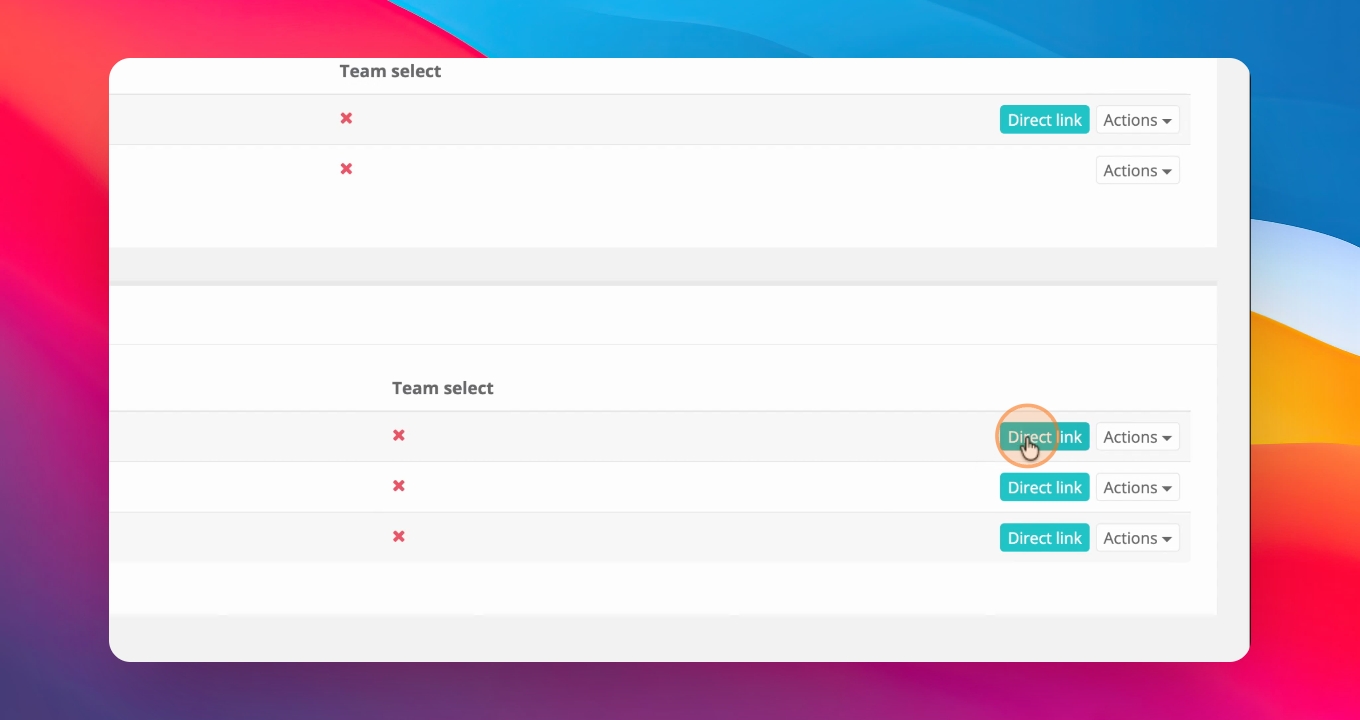
Use the direct link provided to invite someone to sign up as a specific member type, like a volunteer. Clicking this link takes them through the normal signup flow, including any enabled options such as team selection.
For more information about setting up the signup flow, please see the "Set up Signup Forms" guide.
Step 6: Define Member Type Properties
After setting up member types, define the properties (data fields) you want to collect for each member profile. Examples include Name, Address, Phone, and Birthday.
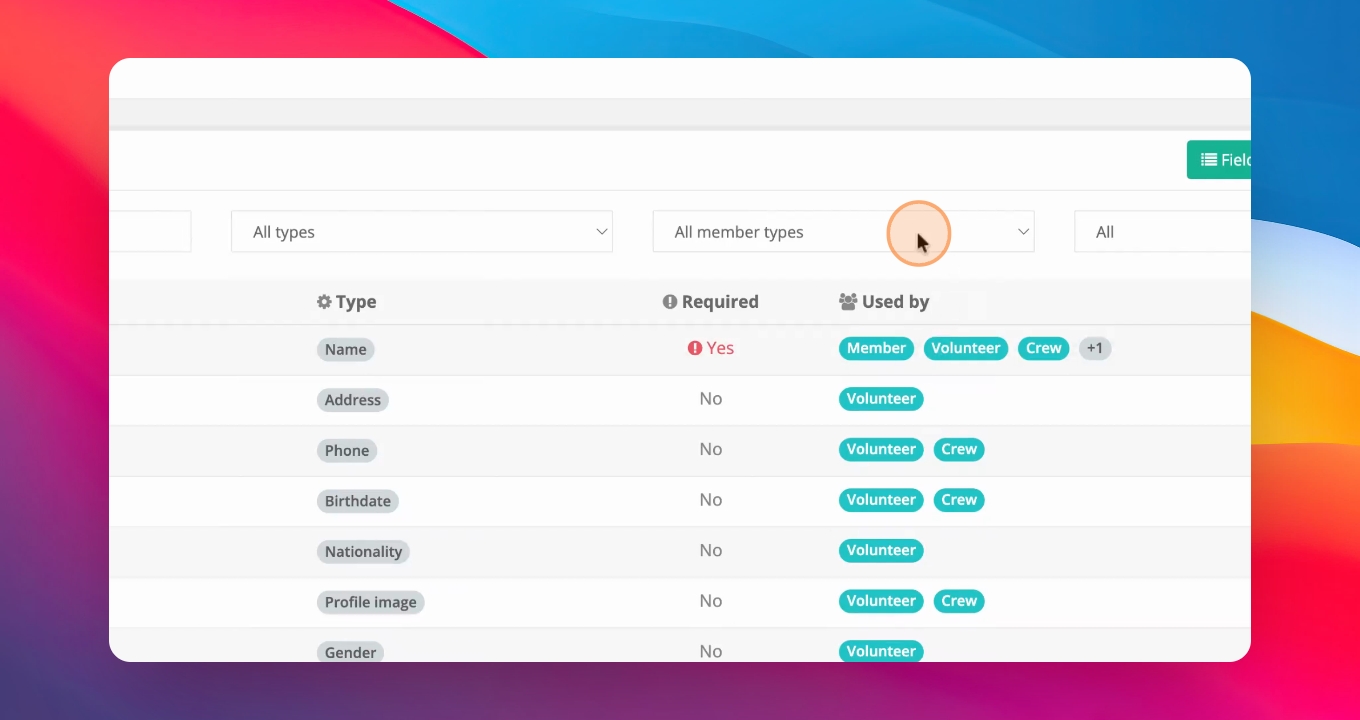
Step 7: Set Required Properties for Each Type
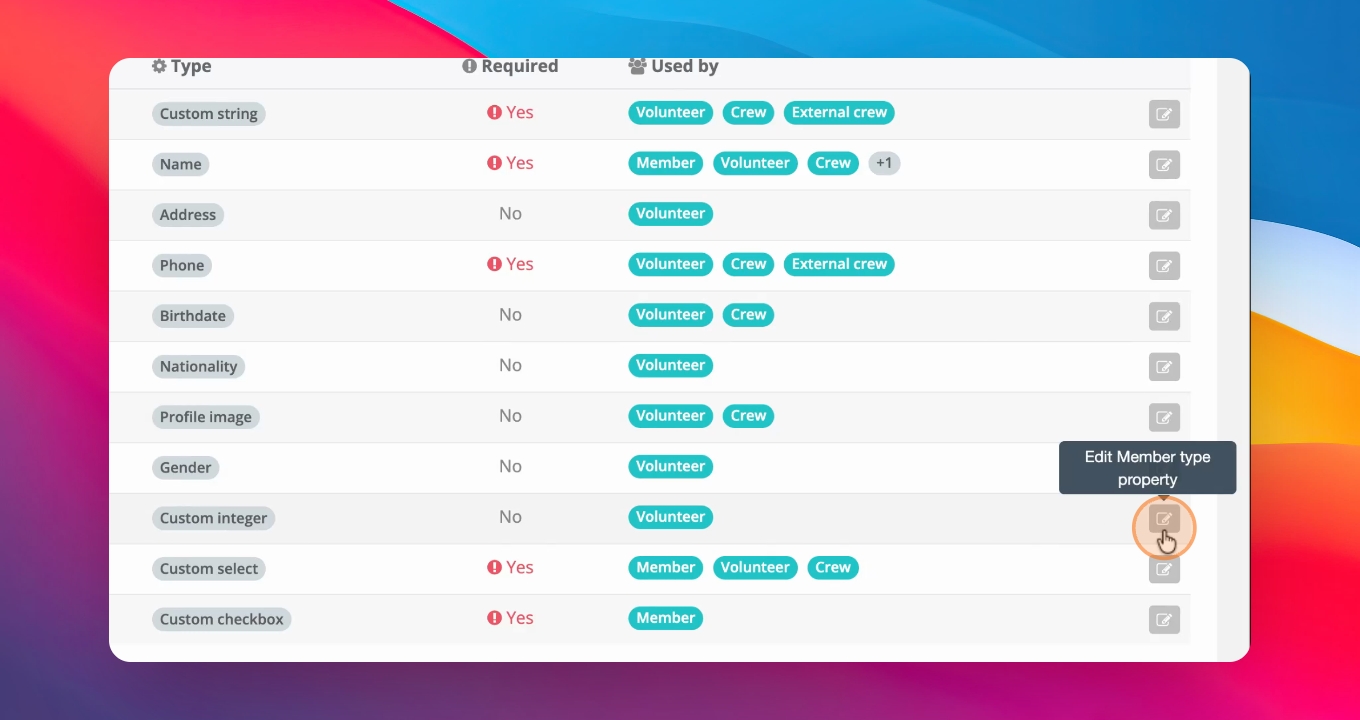
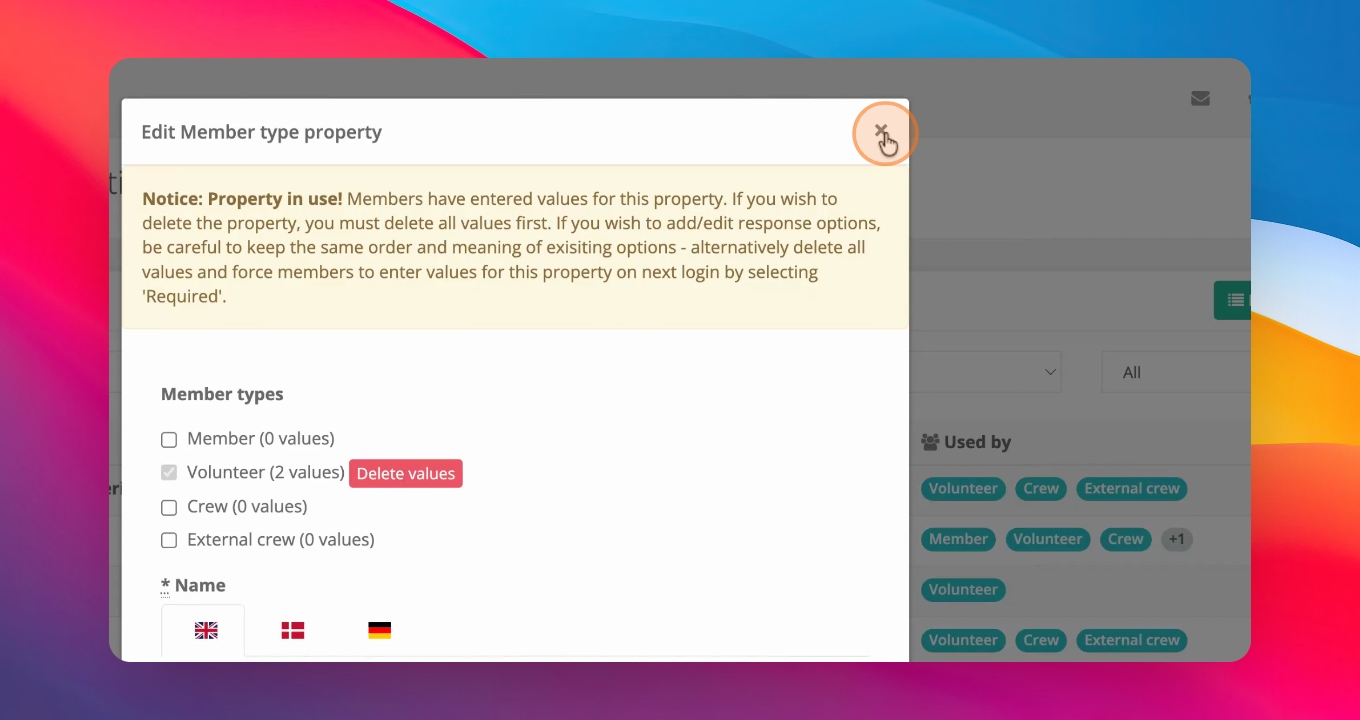
Assign which properties are required for each member type. For example, volunteers may need to fill out almost all properties, while only a few are required for external crew. You can edit existing fields to change which types are required to fill them out.
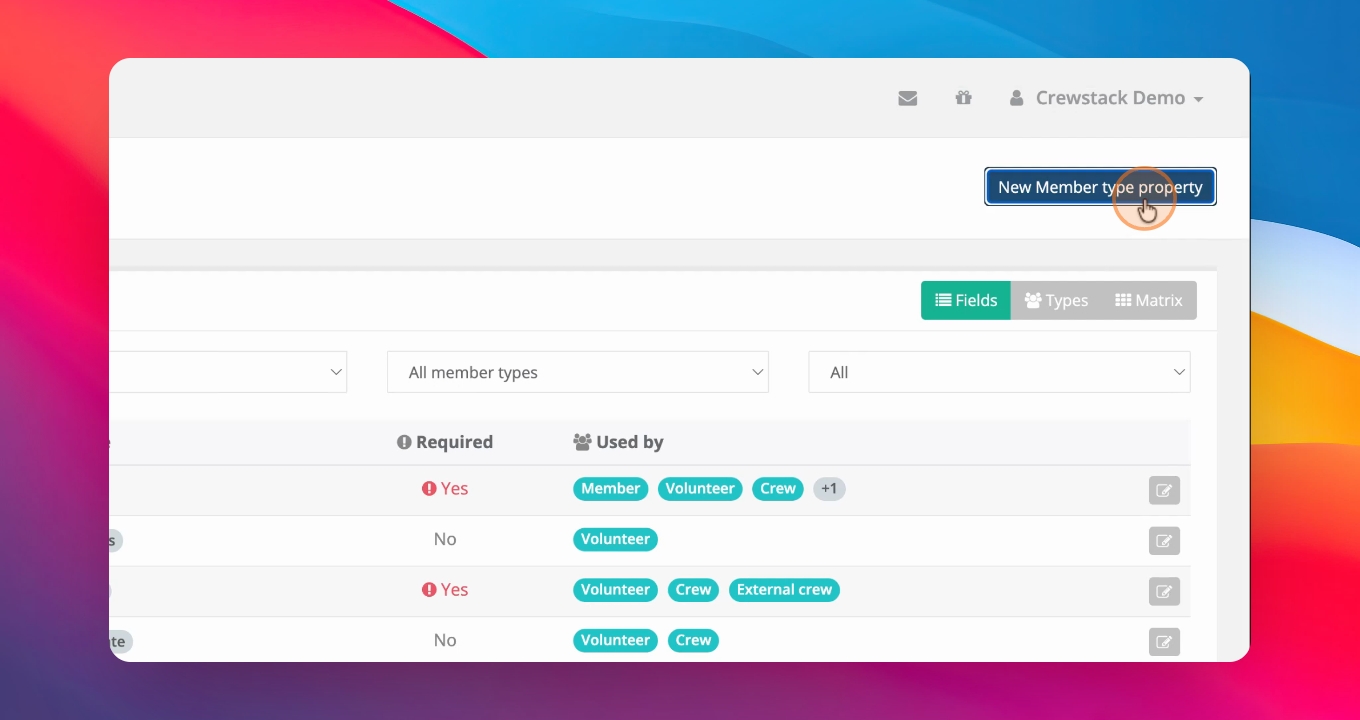
Step 8: Add Custom Properties
If you need additional information, create a new member type property. Select who needs to fill it out and choose the field type, such as custom string. Name the field and set it as required if needed. You can also make it a text area for longer responses.
Step 9: Use Property Dependencies
You can set dependencies so that certain fields only appear if specific options are selected in previous fields. For example, a member number field can be shown only when a certain condition is met.
Step 10: Update Properties After Signup
You can add new member type properties at any time. If you add a required field after people have already signed up, those members will be prompted to fill it out the next time they sign in. This allows you to collect more data later as needed.
That's how you set up your member types and member type properties in Crew Stack.