This guide explains how to enable and use the partial handout feature in your scanner. Let's look at the steps:
Step 1: Go to General Settings
Navigate to General Settings in your scanner's configuration menu and scroll down to find the partial handout feature.
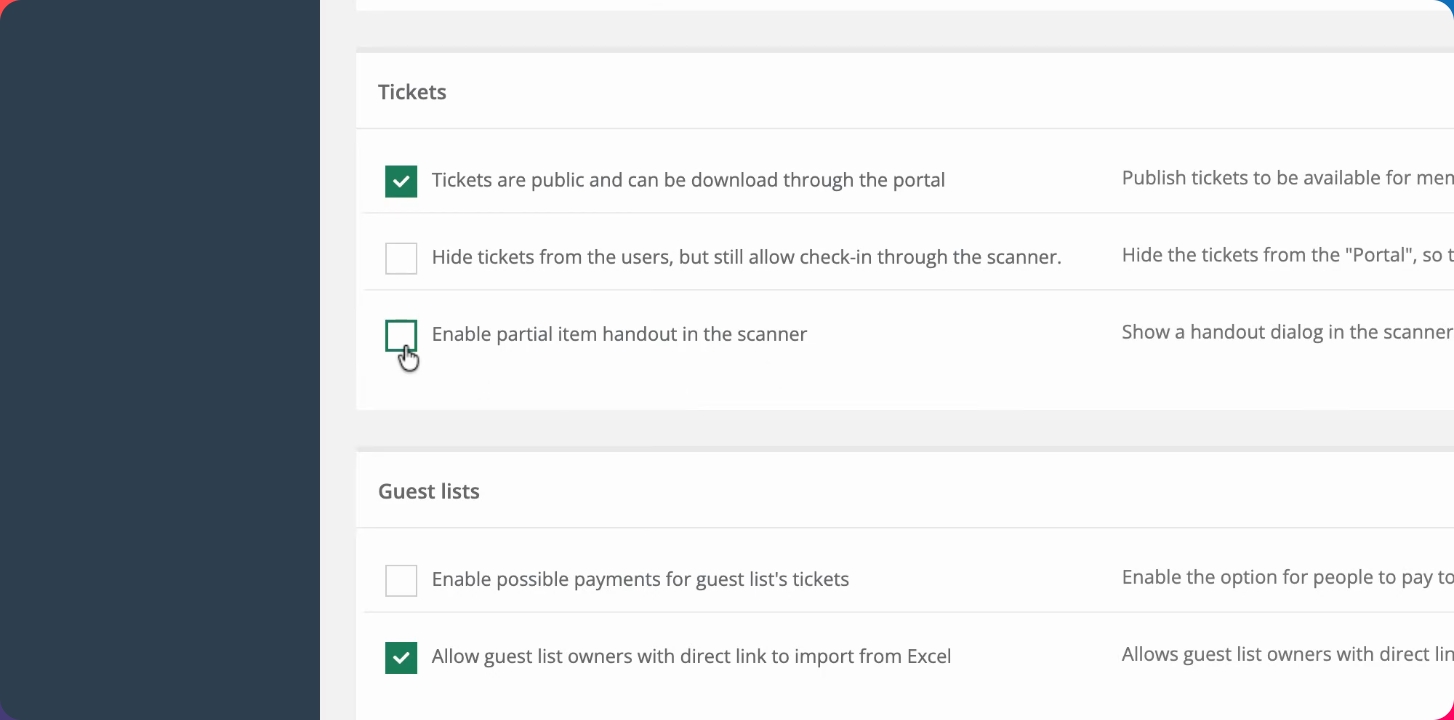
Step 2: Enable Partial Item Handout
Enable the Partial Item Handout option in the scanner settings.
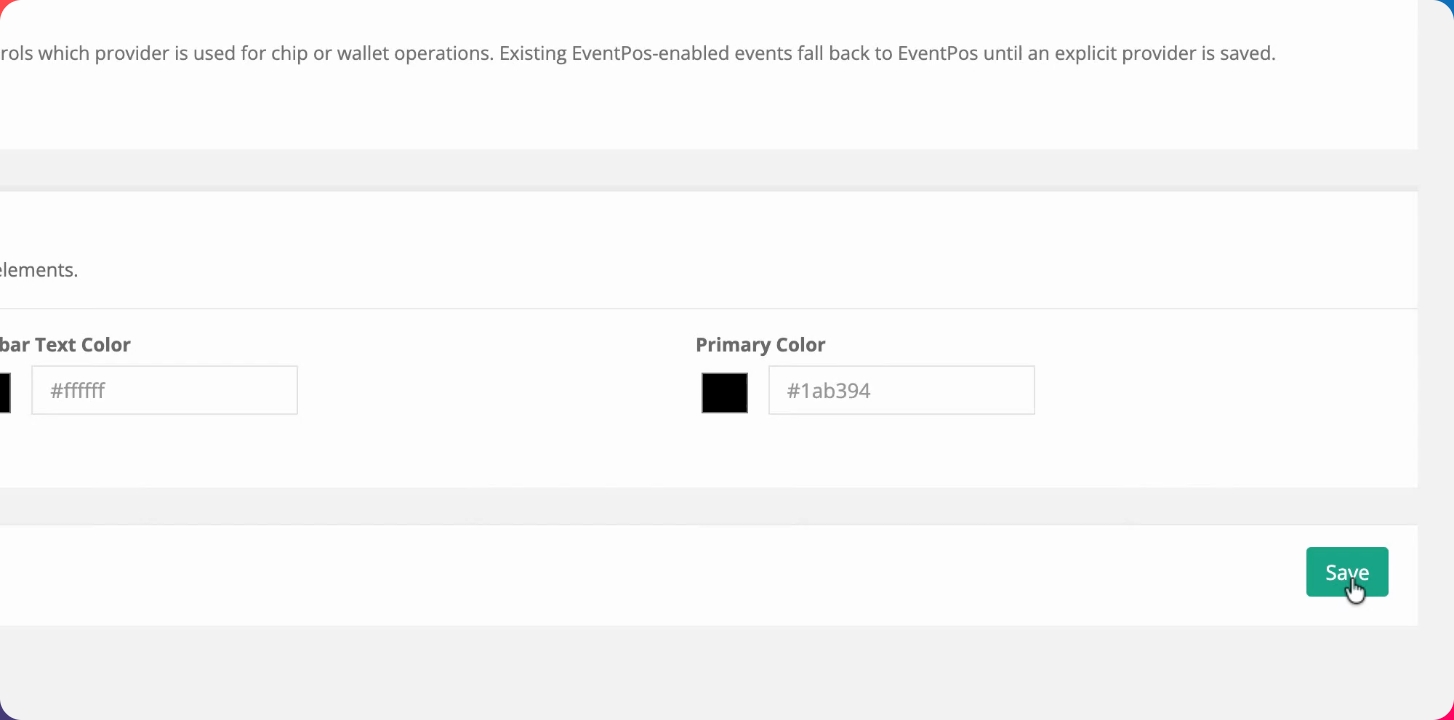
Step 3: Save the Settings
After enabling the feature, make sure to save your settings.
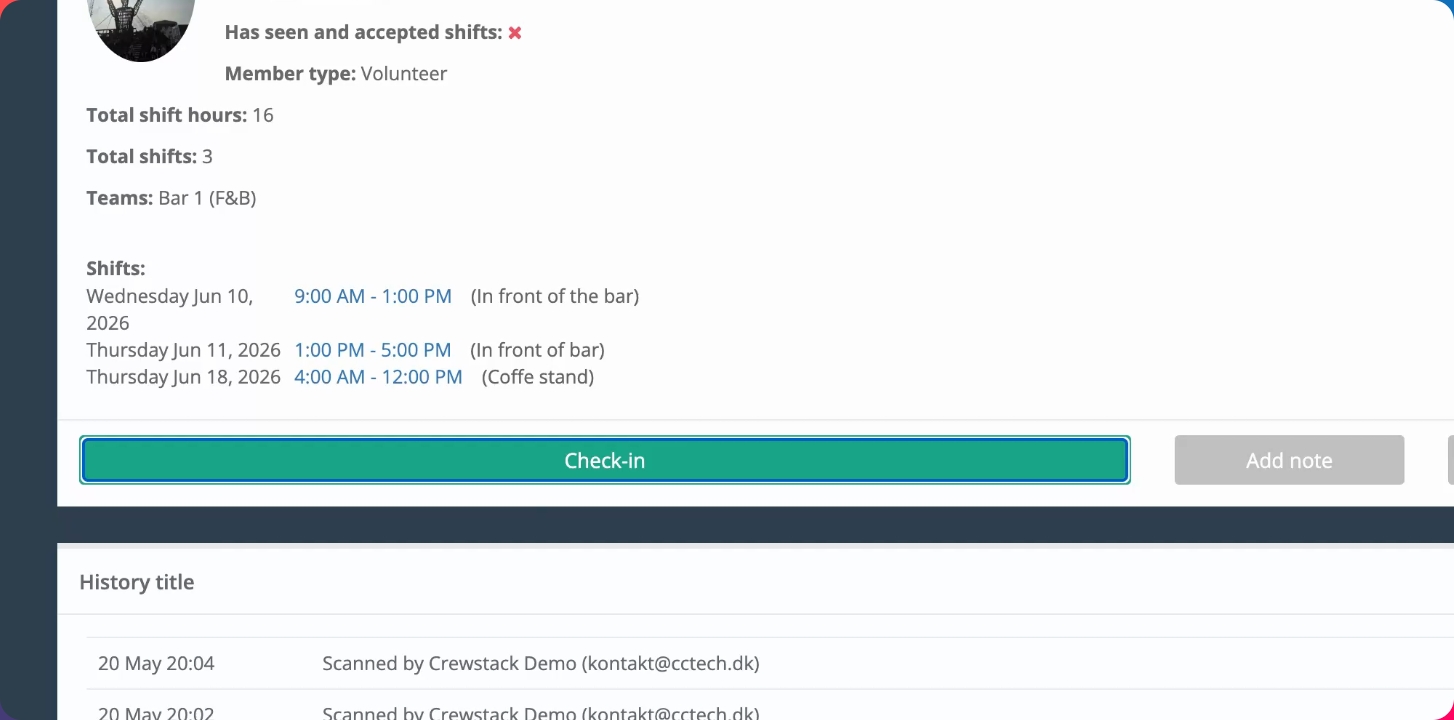
Step 4: Scan and Check In a Person
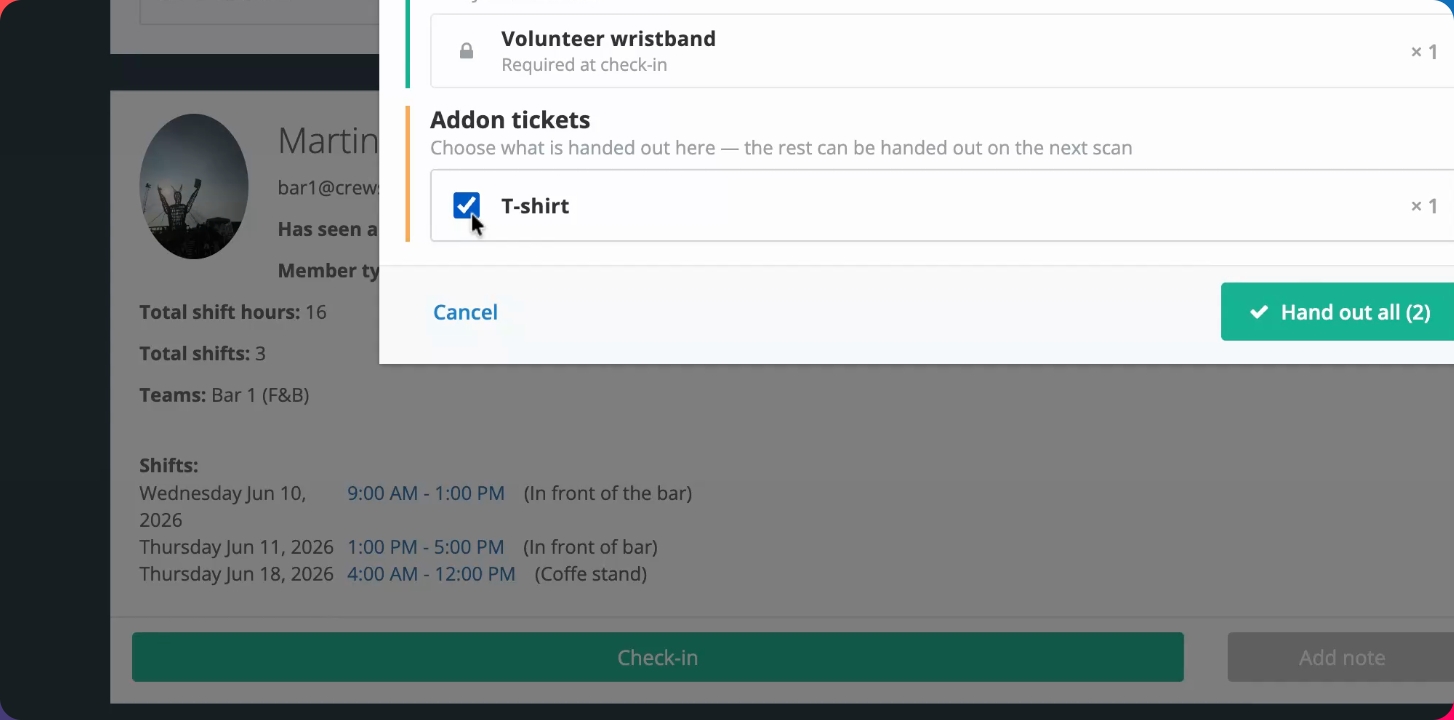
Go to the scanner and scan a person. When you press Check in, a pop-up will appear showing which items can be handed out to the person.
Step 5: Hand Out All or Selected Items
By default, you can press Enter or the green button to hand out all items. Alternatively, you can select specific items to hand out, such as only the wristband, and click Handout Selected. The system will register only those items as handed out.
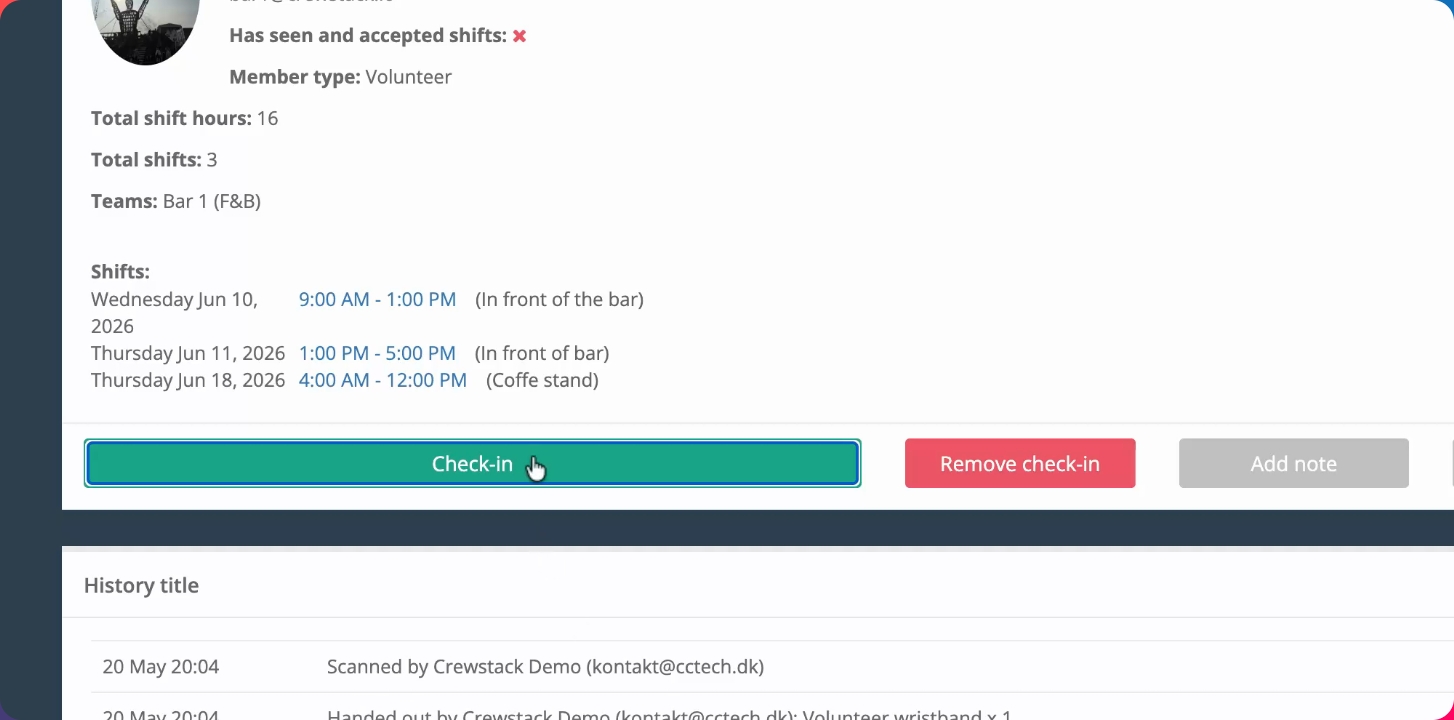
Step 6: Verify Handout Status
When you search for the person again, you will see which items have already been handed out and which are still pending. If you click Check in again, previously handed out items will be indicated, and remaining items will be ready for handout.
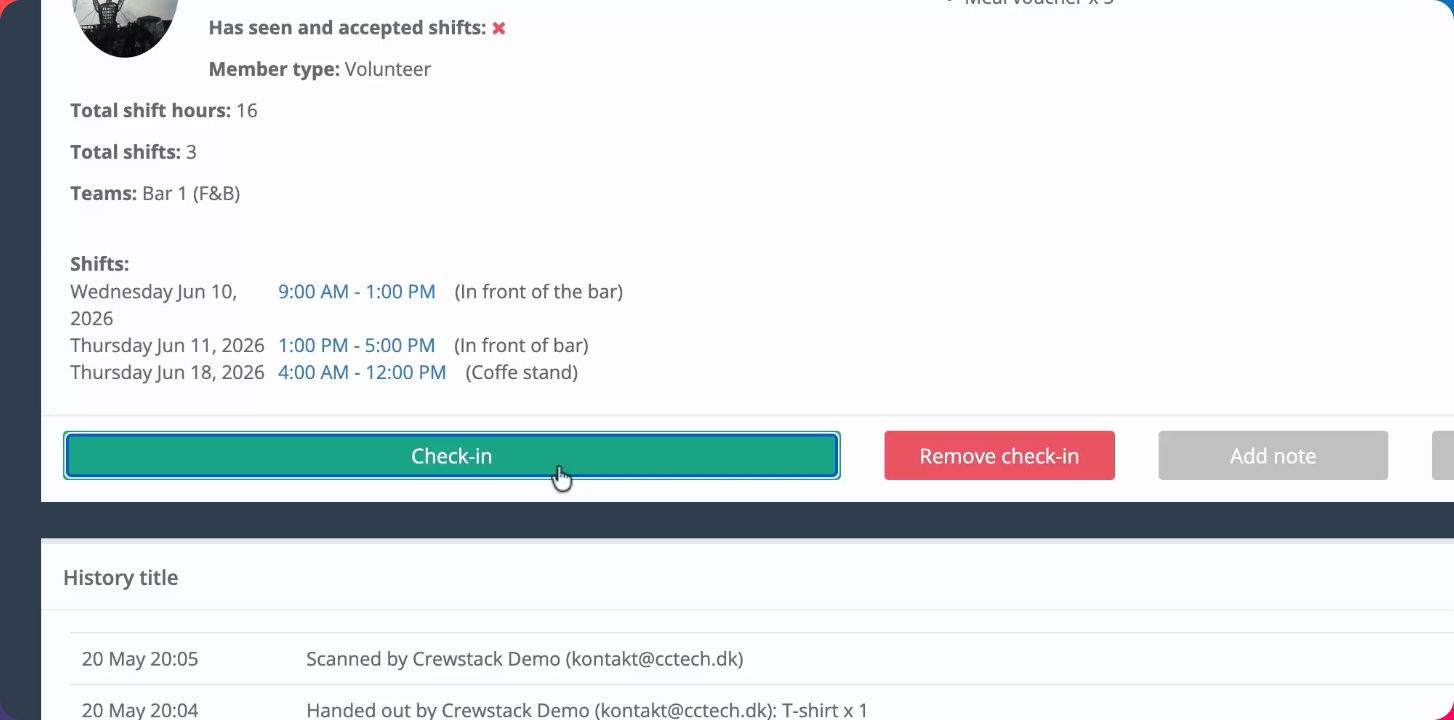
Step 7: Handle Additional Item Assignments
If the user is assigned more items after their initial check-in, these new items will appear as pending the next time you search for them. For example, if meal vouchers are assigned, they will be listed as waiting to be handed out.
Step 8: Complete All Handouts
When you click Check in after handing out previous items, only the remaining items, such as meal vouchers, will be shown as pending. Once all items are handed out, searching for the person will show that they are fully checked in.
This is how you use the partial handout feature in the scanner.