If you want another way to categorize your member types and or your teams, you are now able to use tags. Let's look at the steps:
Step 1: Enable Tags
Go to Settings and then General Settings. Scroll down to the teams section and enable the tags.
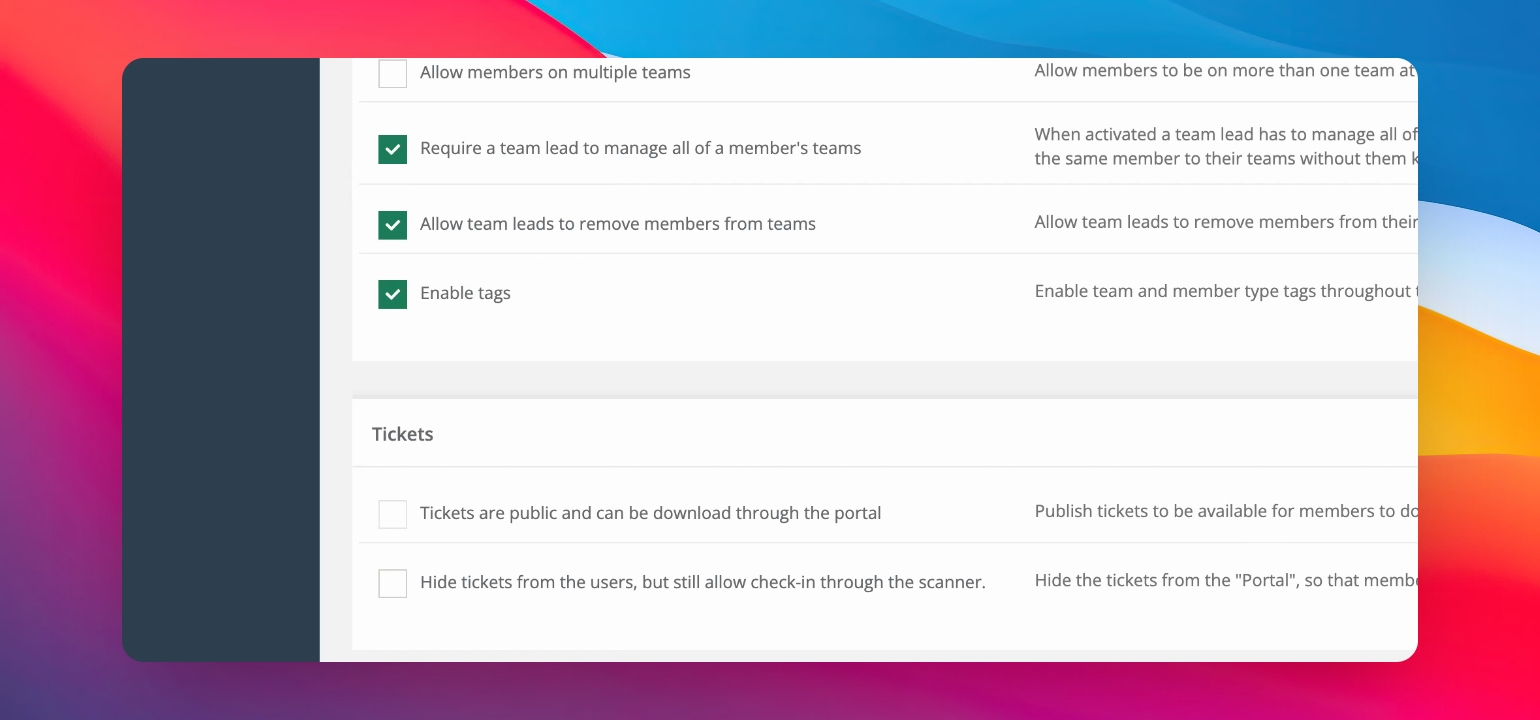
Scroll down and save your changes. Once done, tags will be available in your sidebar.
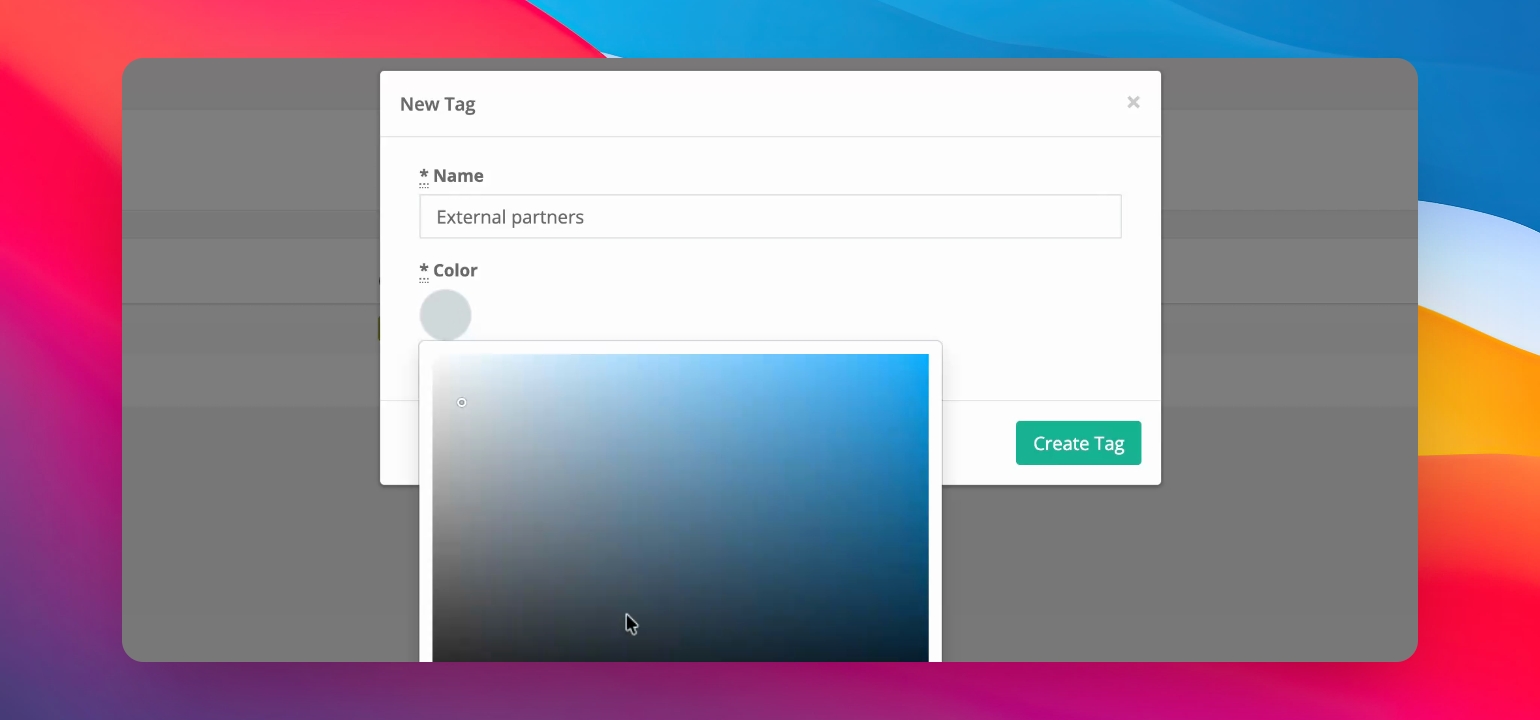
Step 2: Create a Tag
You can easily create a tag and assign a distinct color to it for easy identification.
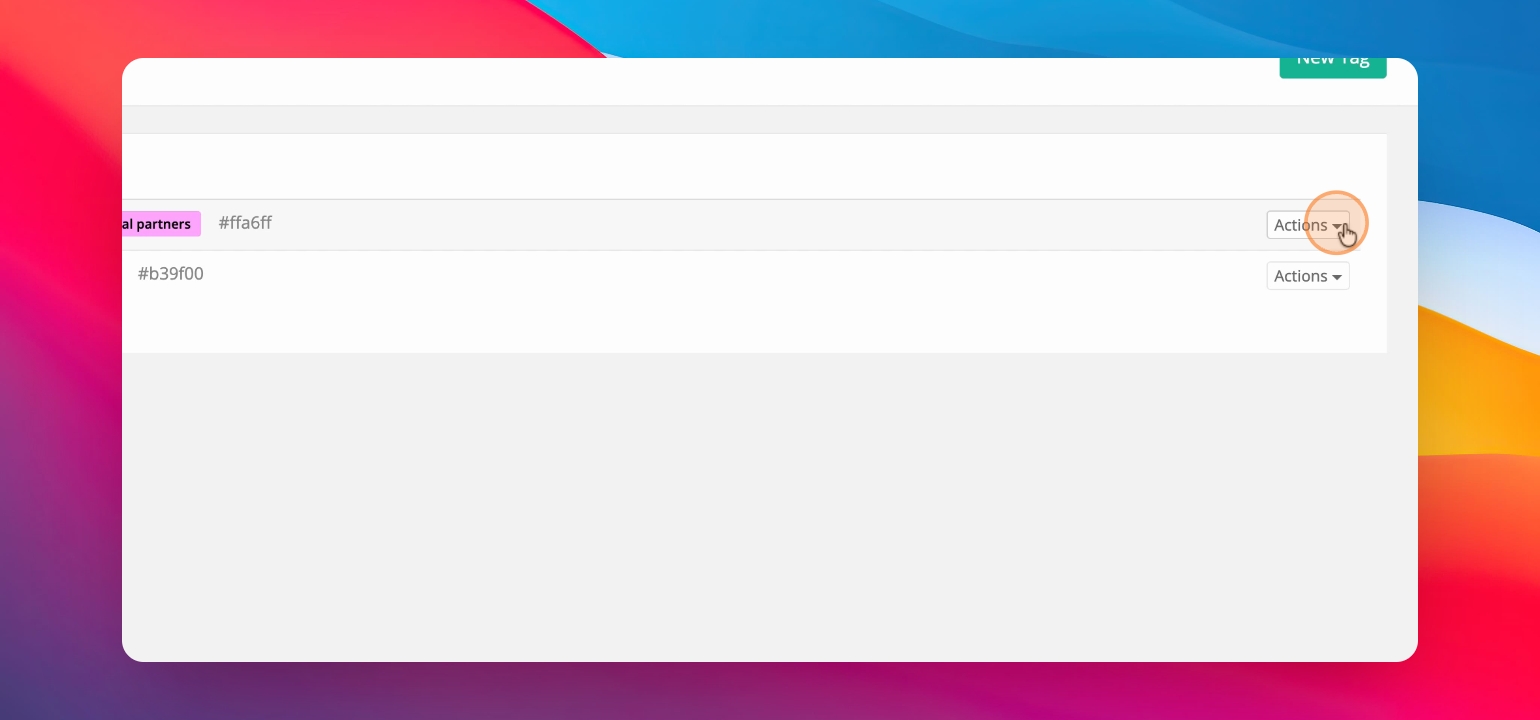
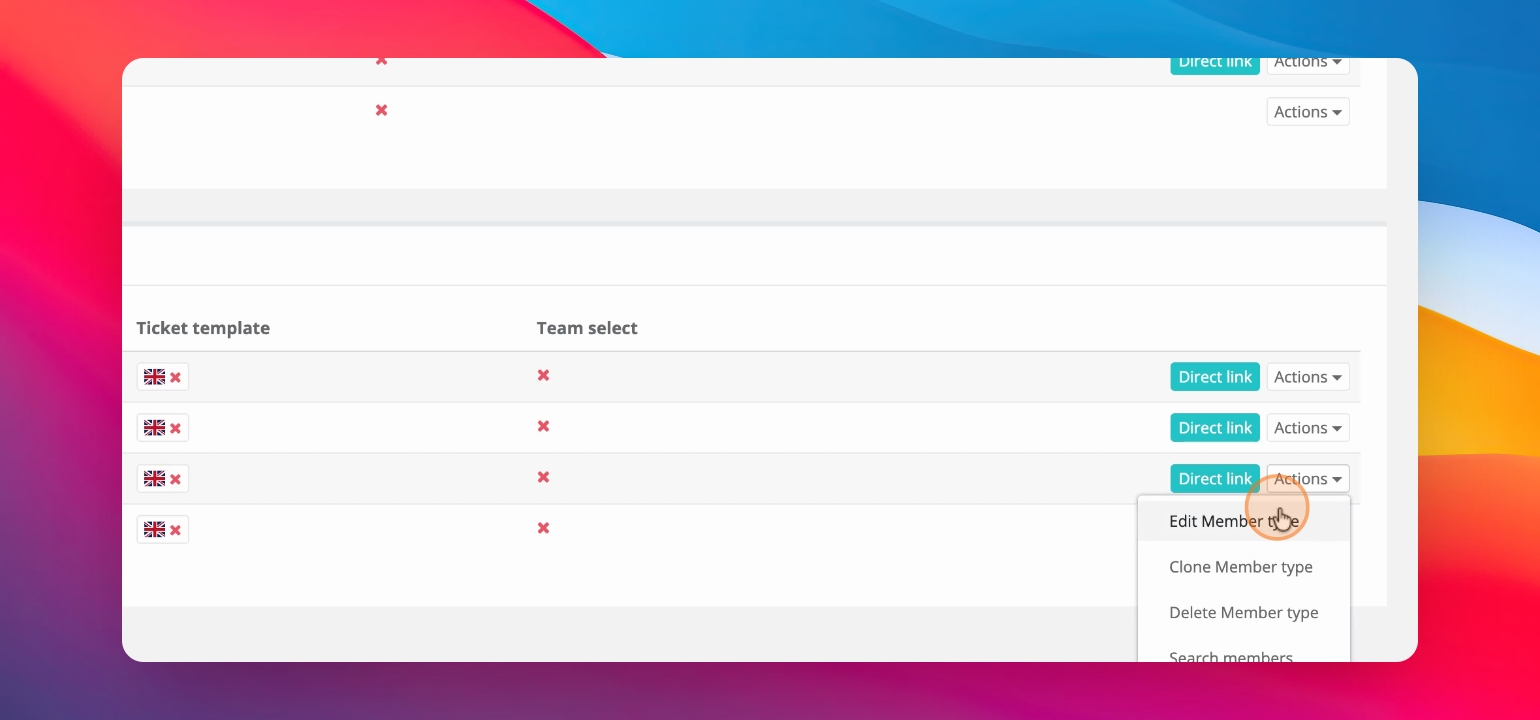
Step 3: Edit or Delete Tags
You can edit or delete your tags anytime if you don't need them or want to make changes.
Step 4: Tag Member Types
Use your tags for member types. For instance, edit the staff member type and add the tag external partners.
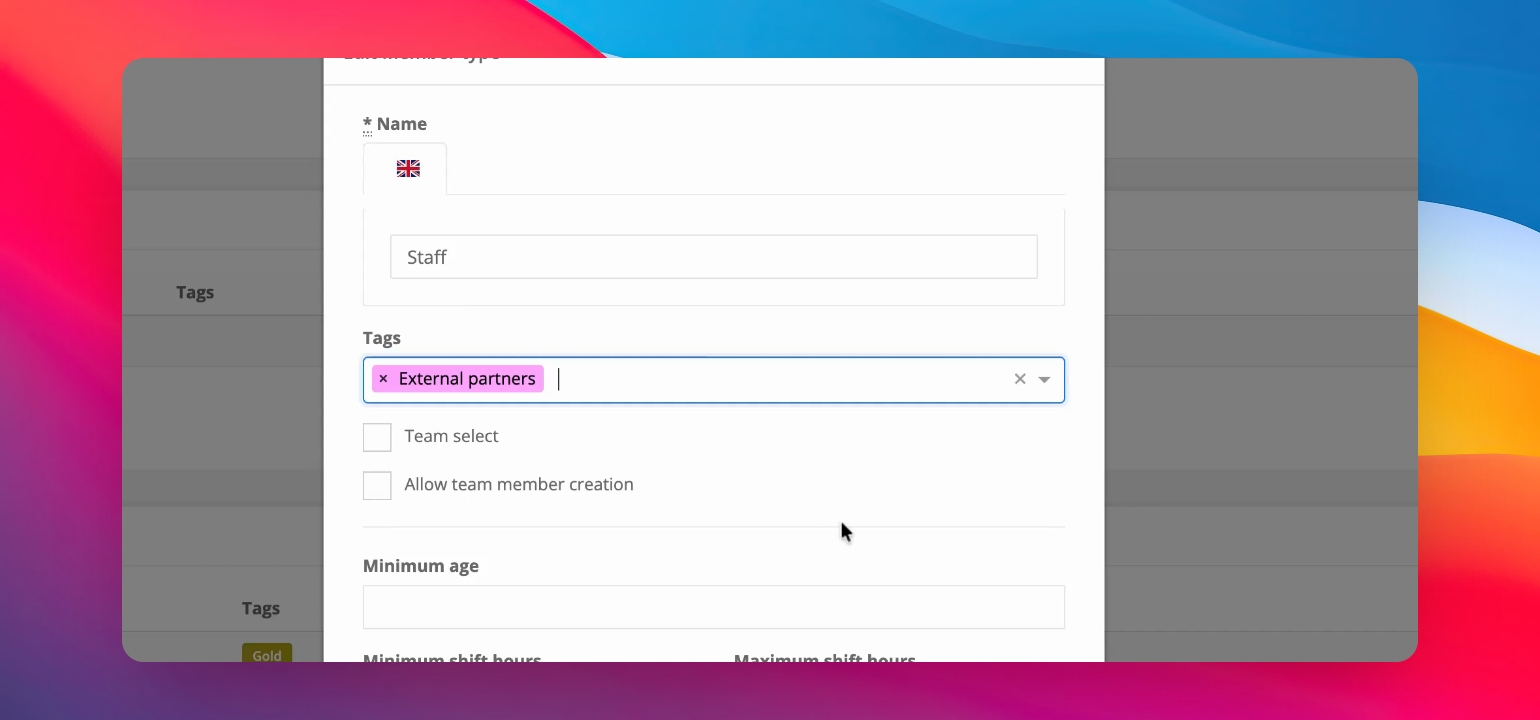
This tagging helps in sorting through member types. For example, you can search for all members tagged as external partners.
Step 5: Use Tags on Teams
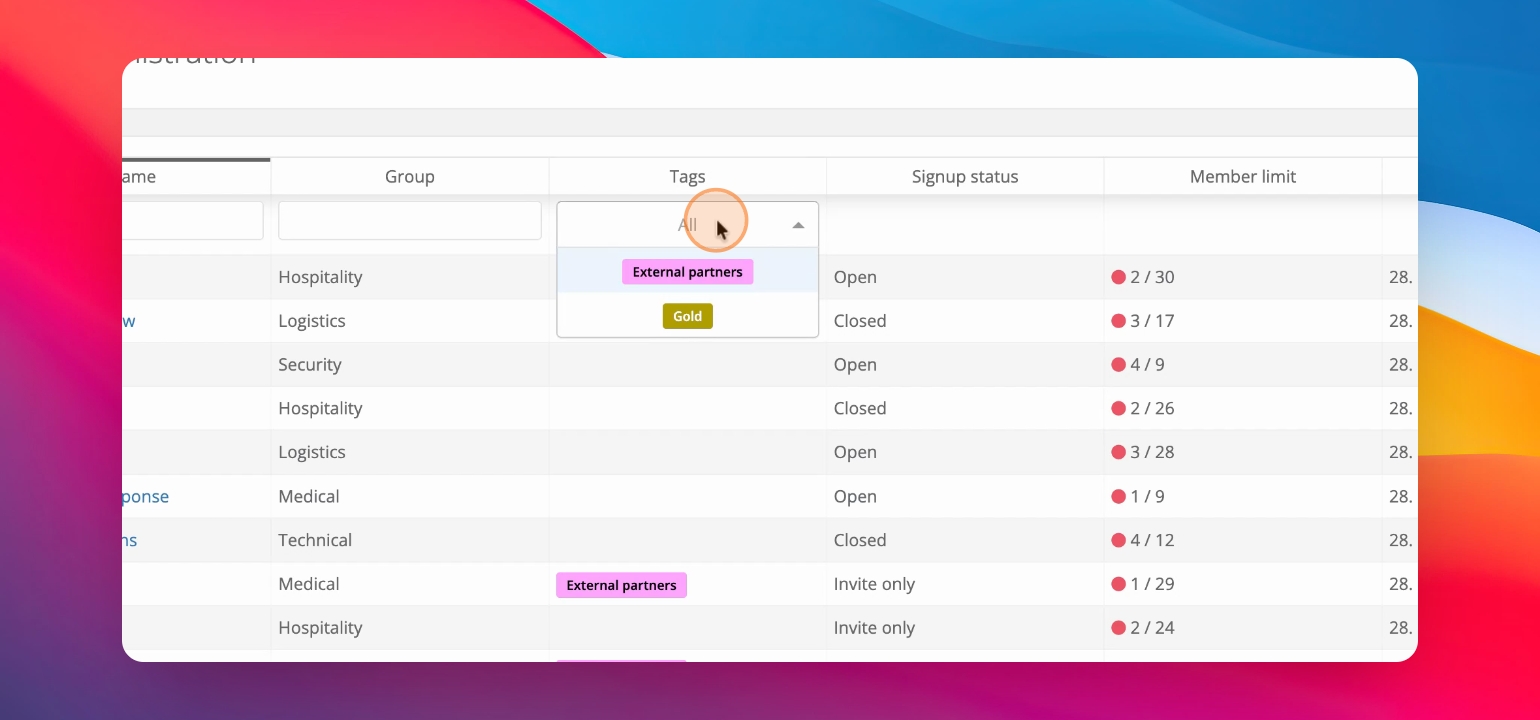
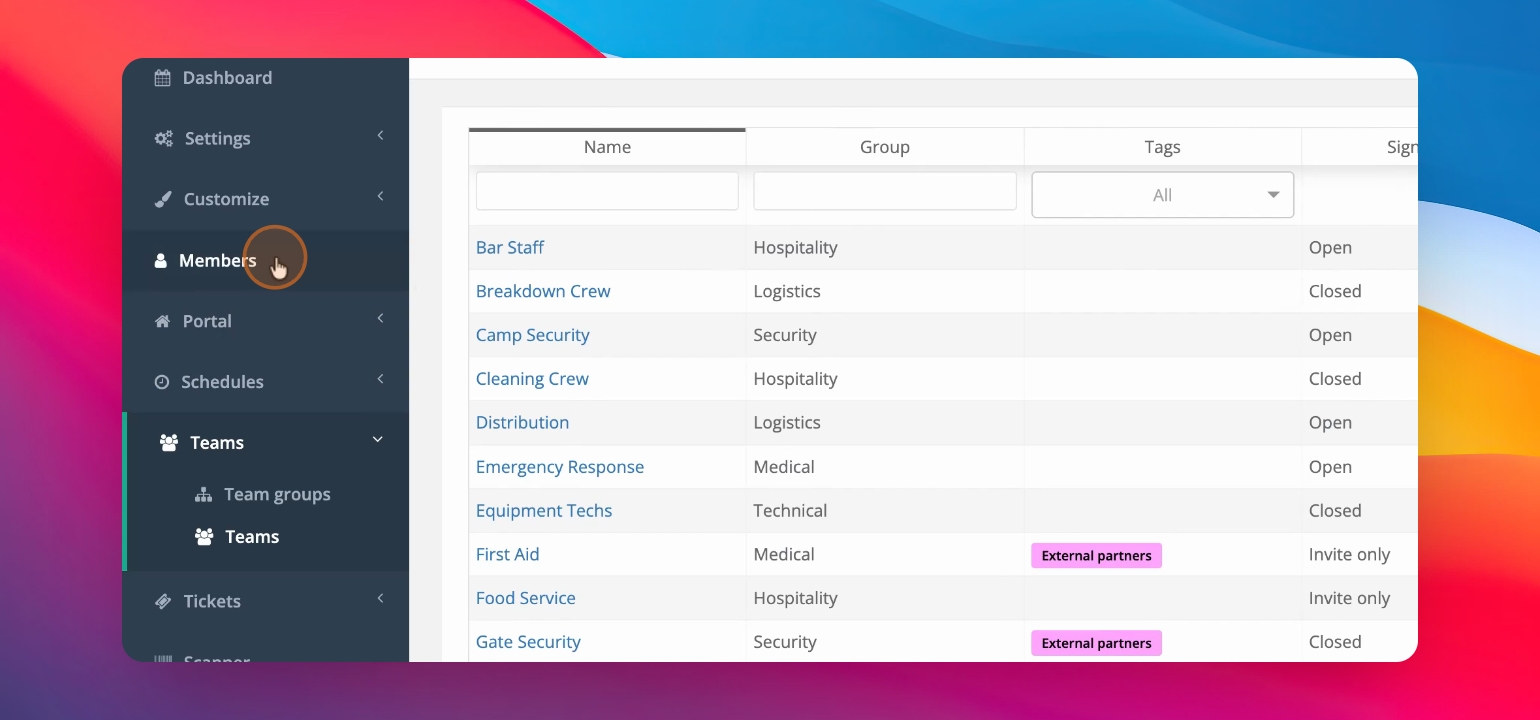
Similarly, tags can be applied to teams. For instance, the first aid team can be tagged as external partners.
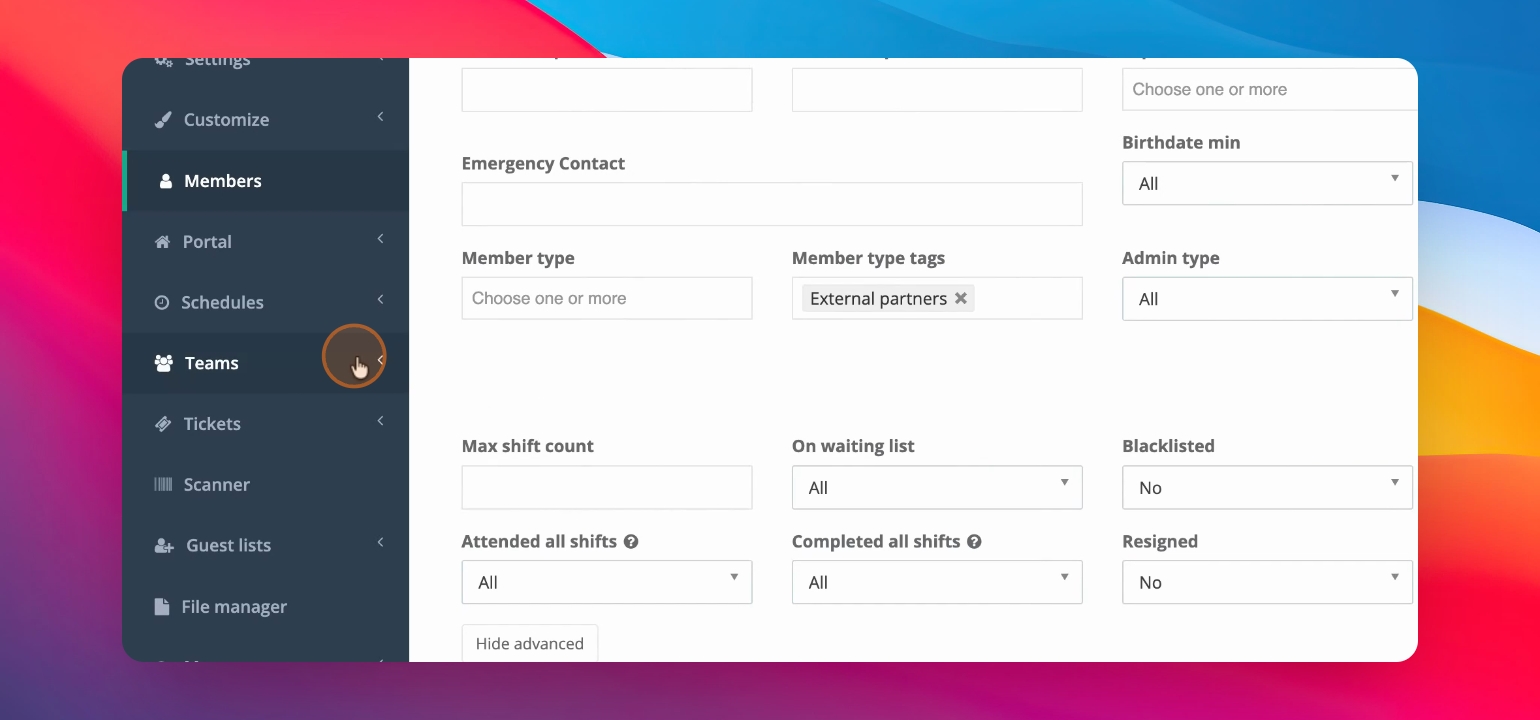
This allows grouping of teams without them being in the same group. You can filter by the external partners tag to find them easily.
Tags can also be searched in the member search, allowing you to see all team members marked as external partners.
This is a convenient method of grouping or labeling your member types and teams for easier sorting and filtering.