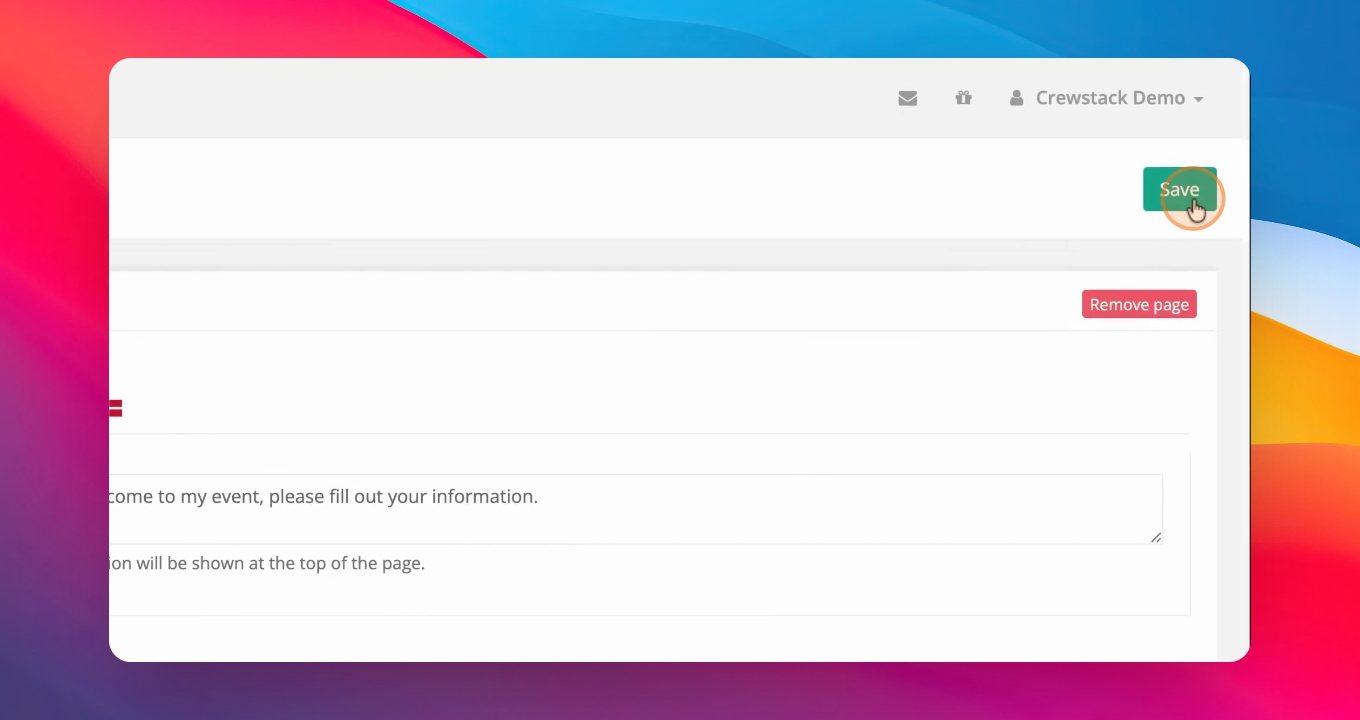
Once you have your member types and their properties configured, you can begin setting up signup forms for your members. Let's look at the steps:
Step 1: Navigate to Forms
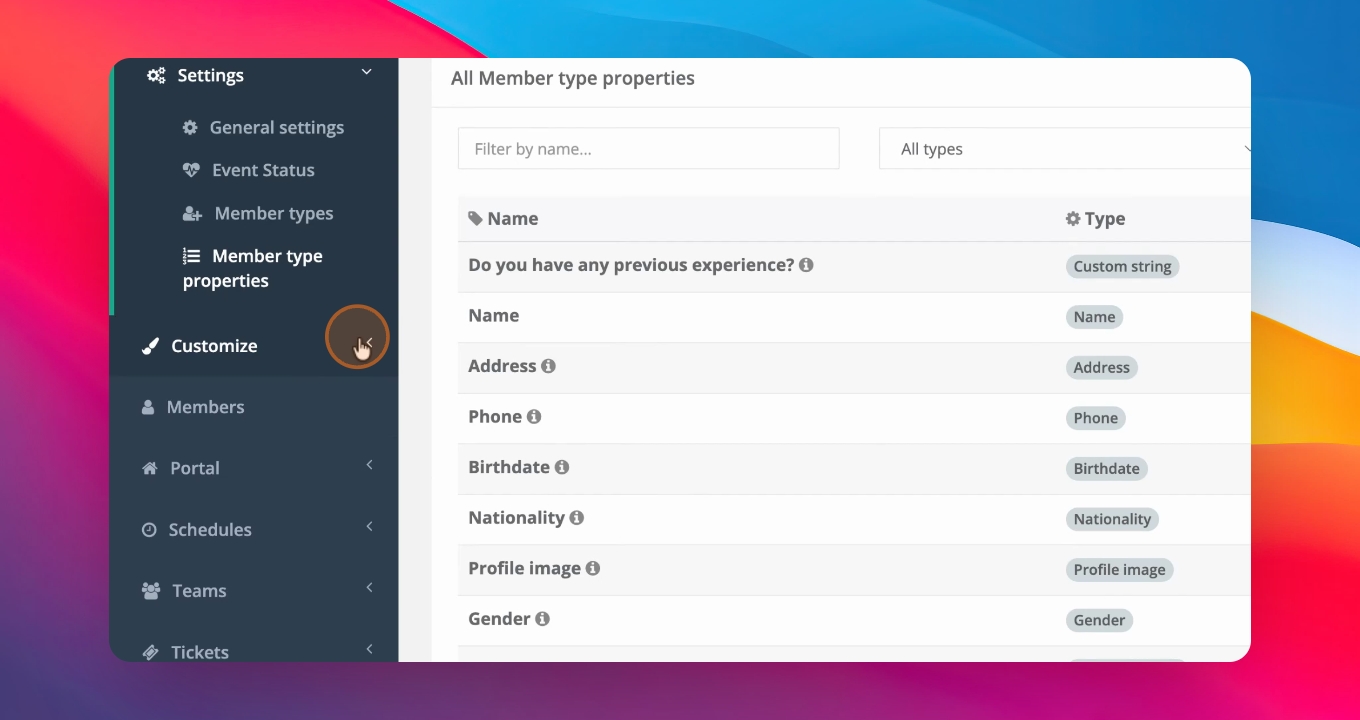
Go to Customize and select Forms to access the signup forms section.
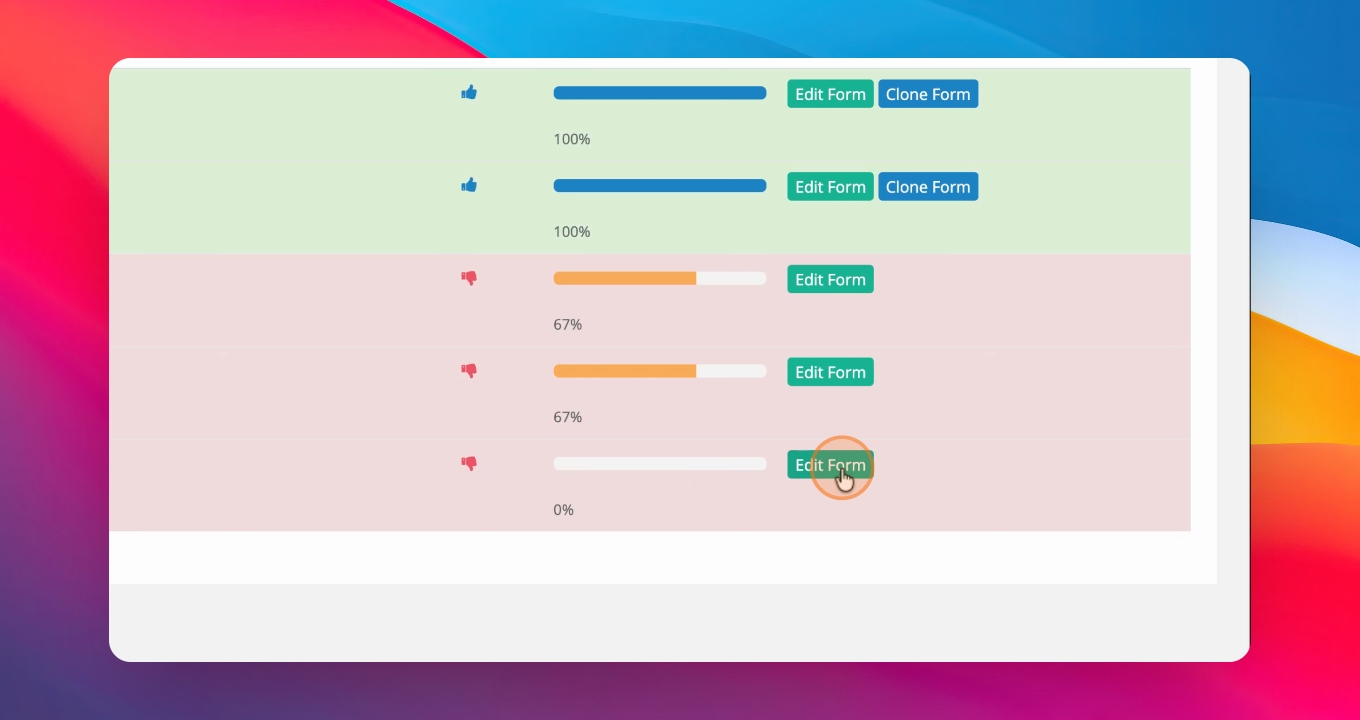
Step 2: Review Form Status
Check the visual status of each individual form. You can see which member types are complete and which still need work.
Step 3: Select a Member Type
Choose the member type you want to set up, such as external crew. Review its current setup, including pages and required properties.
Step 4: Edit the Form
Click Edit Form to begin customizing the signup flow for the selected member type.
Step 5: Add the First Page
Add a new page at the top. This will be the first page users see after creating an account with their email and password. Set up a short description for this page.
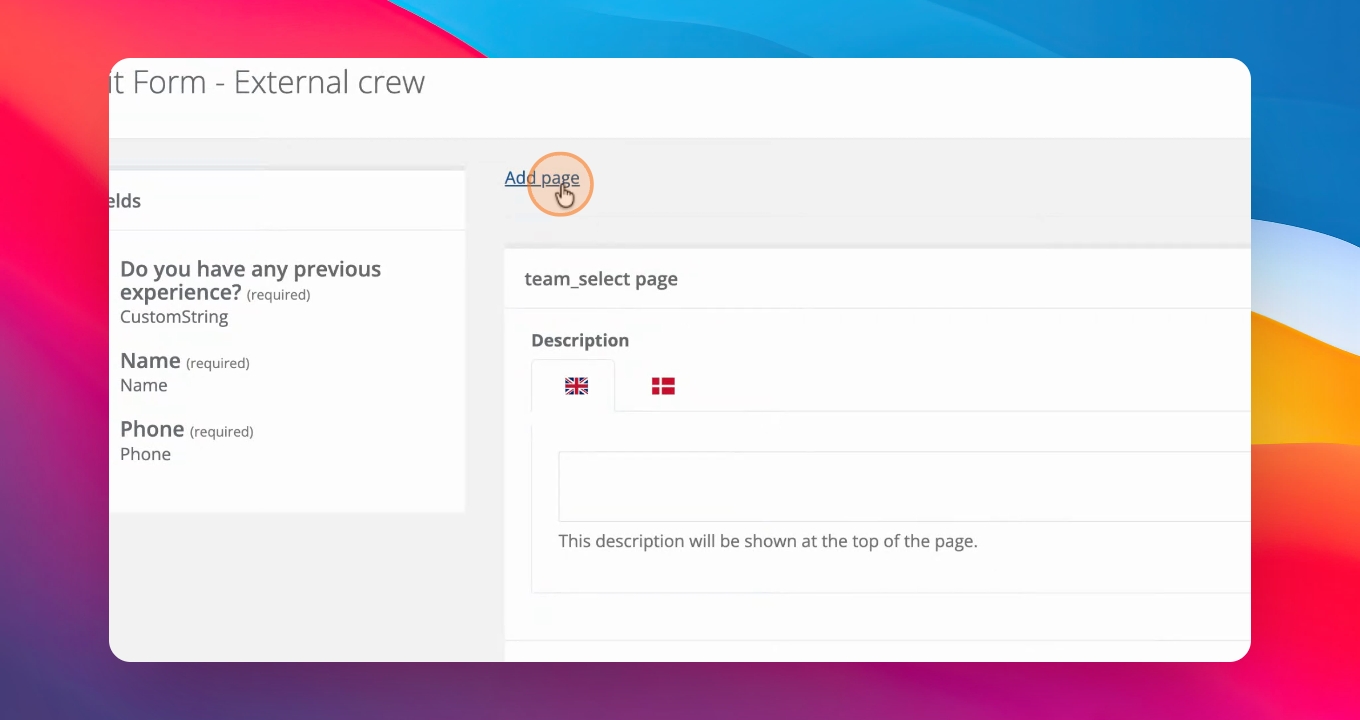
Step 6: Add Required Fields
Add member type properties to the page by dragging and dropping them from the left side. Make sure to include all required fields, such as name, phone, and do you have any previous experience, so users can complete their profiles.
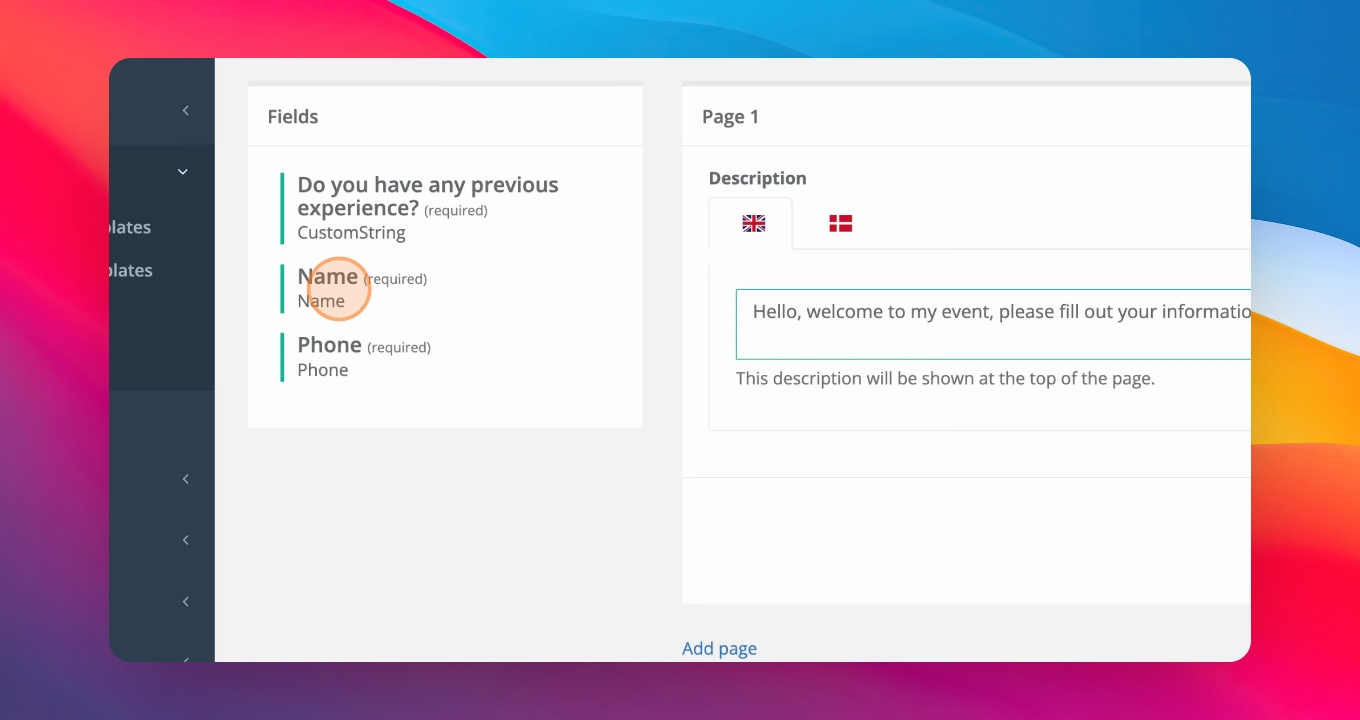
Step 7: Manage Pages
You can add or remove additional pages to organize fields as needed. For simplicity, you may keep all fields on one page if preferred.
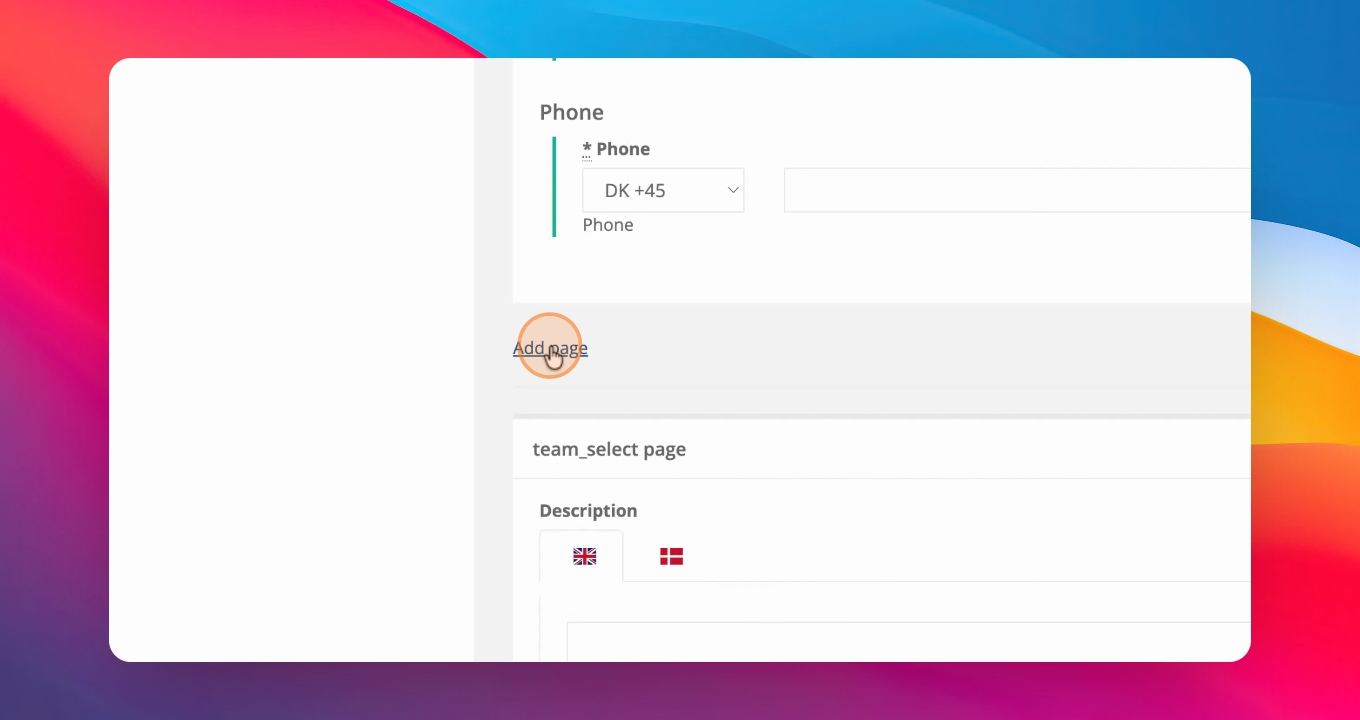
Step 8: Configure Team Selection
If your member type allows team selection during signup, add a Team Select page. Include a help text and ensure the page lists all available teams for selection.
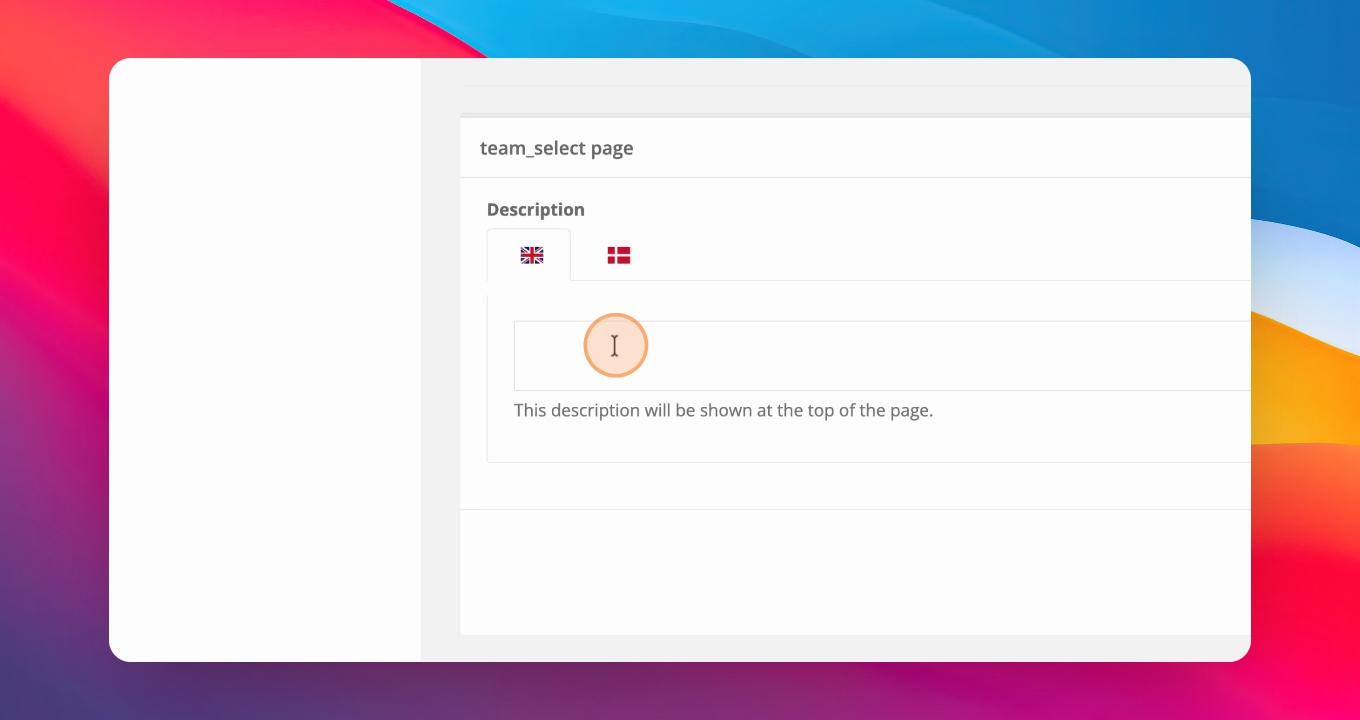
Step 9: Set Up Confirmation Page
Add a confirmation page as the last step of the signup flow. Guide users to click Confirm and, if needed, add a final field to ensure all required information is collected.
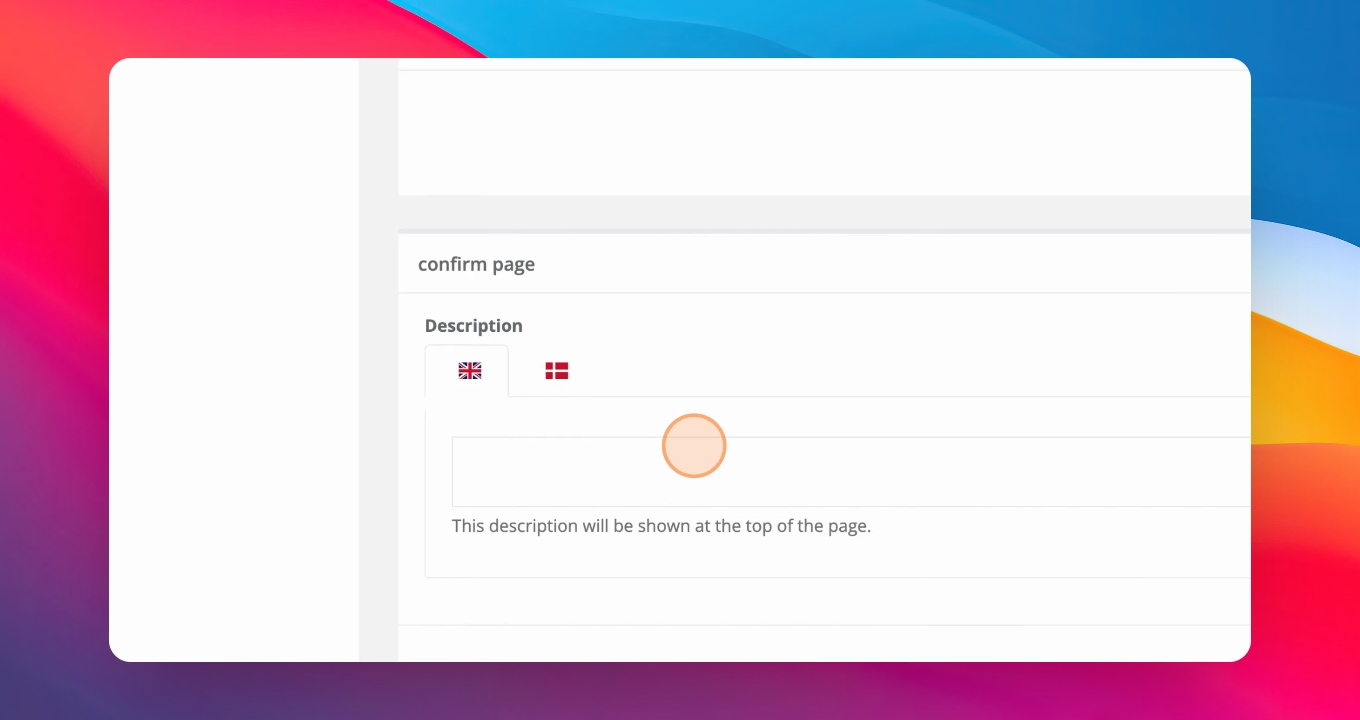
Once these steps are complete, your signup flow is ready to accept new member signups.